I bought myself Gorechosen for Taxsmas (a traditional American gift giving holiday that occurs around February or April or whenever you get your tax returns), and decided that I would try out LAVA BASES!!! I wouldn't post this tutorial unless I thought I'd come up with something I hadn't seen elsewhere. After doing my research, I found a bunch of advice for doing lava, but nobody doing the super easy thing I had been envisioning, so I tried it, it worked, and I figured I'd share it with the world.

Step 1: Put your model on the base, trace out where you want your lava floes to go. I'm leaving flat spots on the base for this guy's feet, but you can do whatever you want for that (I think it depends heavily on the model).

Here are my traced out lava floes and spots for feet. Nothing too wild and crazy or inspired, just some rivers of molten rock.

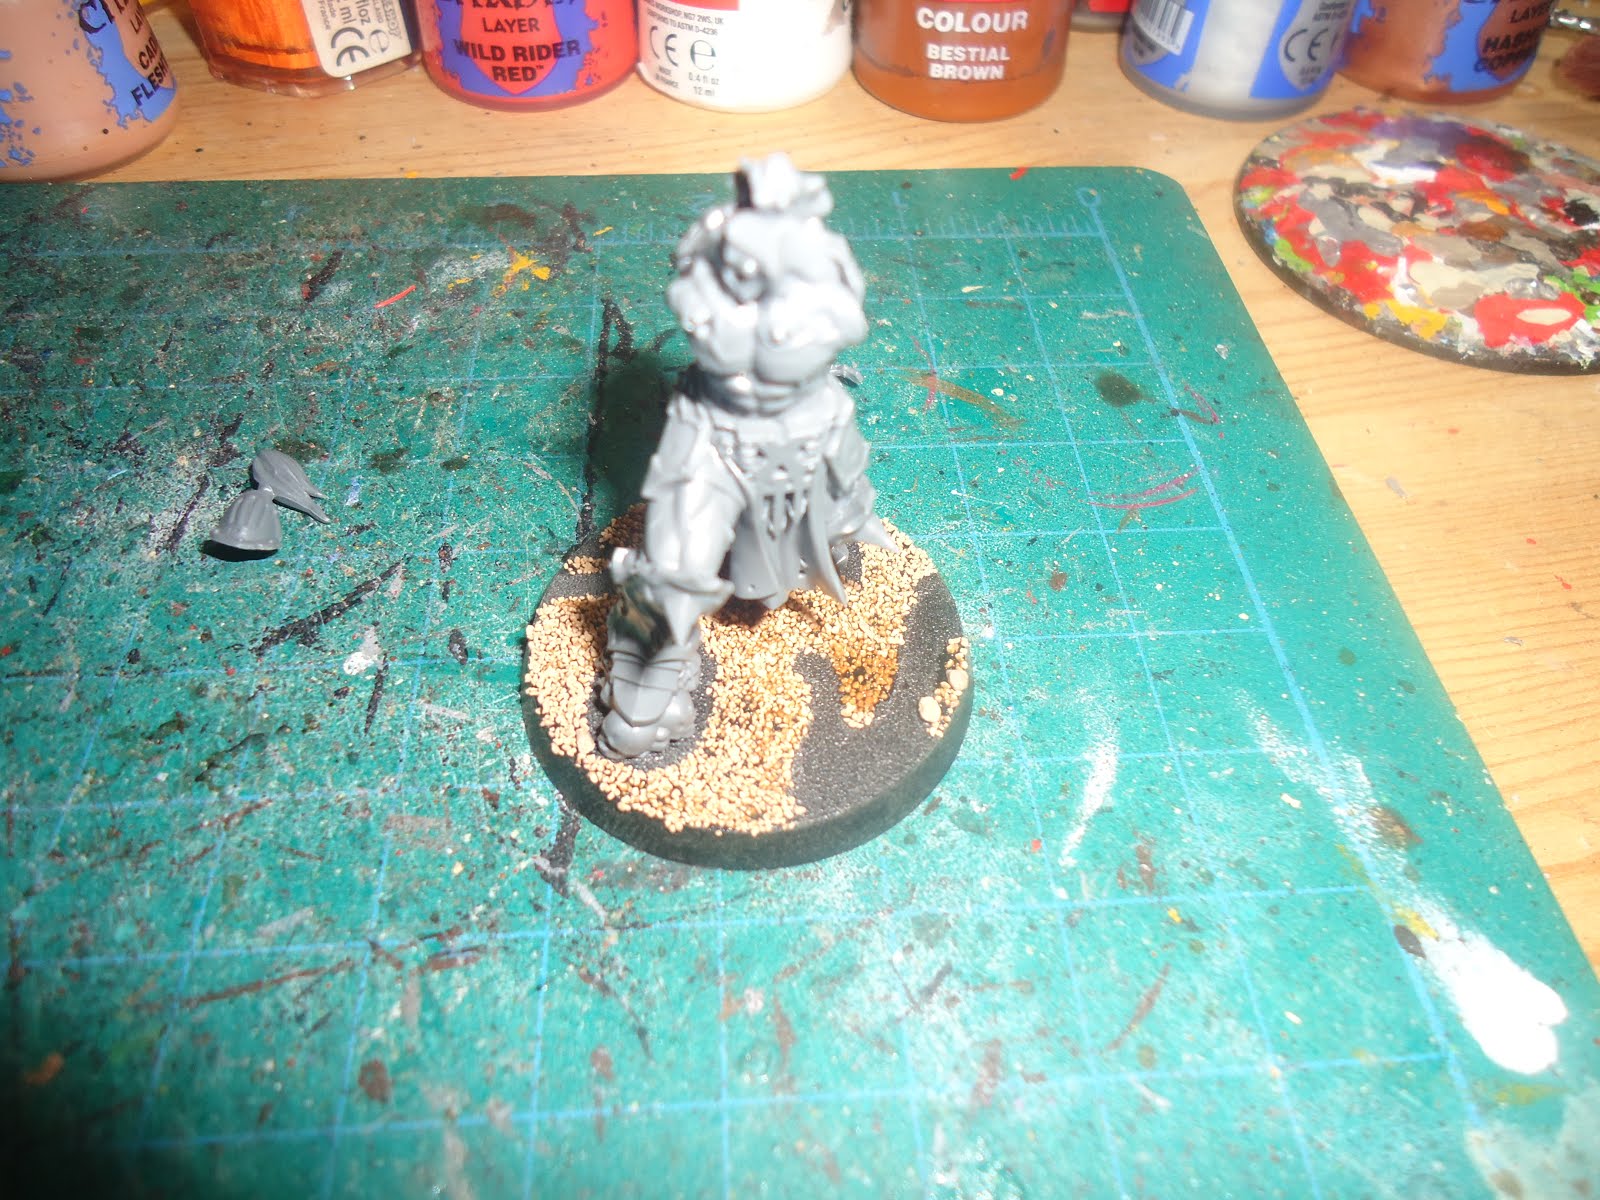
Step 2: Glue down sand everywhere you didn't outline. Basically, we're putting sand anywhere we don't want LAVA! (or feet, feet are good too).

I just took this picture so you'd know what you're even looking at. Which in this case is a headless Slaughterpriest.
Step 3: Paint the lava. I started with Wild Rider Red (which is really a nice red-orange). This is the first step where I'm doing something kind of original, it is very important that we paint a wide margin of the sand with the Wild Rider Red, because this is going to get us a cool glowing lava effect later.

Step 4: Fairly straightforward progression, we're going to paint the center of the lava flow with a brighter orange. I'm still using a pot of Fiery Orange that's probably 10 years old, but I think the newer GW color that compares to it is probably Troll Slayer or Fire Dragon Orange).

Step 4.5: Continue to highlight the center of the lava, I used Yriel Yellow.

Step 5: Paint the sand black. I've separated this into two steps. First, paint everything that isn't orange with Abbadon Black.

Step 5.5: Then, drybrush Abbadon Black over the rest of the sand.

Step 6: Drybrush the black parts of the sand with Dawnstone (dark grey) to make it look kind of ashen.

And you're done! Here's another finished one below.

The WIP Slaughterpriest standing on it (the flash on my camera is really bringing out the Wild Rider Red on this one, it isn't nearly this harsh in real life)

This is the only one I've finished so far, so this is what the finished product looks like (this pic looks more like real life, probably because it's just well lit and has no flash).

Last but not least, here are some related ideas I tried out when experimenting, first one with cork basing on the White Dwarf Slaughterpriest.

And then the Damsel of Distress, who I wanted to match aesthetically, but had already been fully based. I just painted the lava colors in a few spots here and there, and then drybrushed the sand black to taste.

Neat looking bases (and minis). Thanks for share!
ReplyDelete